I recently finished a contract for a client and rather than jump straight into another I decided to take a month or so out to try and get the house ready for moving in – the timing couldn’t have been much better to be honest.
The ‘normal’ approach to fitting internal doors is to buy door linings, architraves, doors, hinges and handles get then get a joiner to fit them all. Given that we haven’t gone down this route, I suppose we must be ‘abnormal’. Hmmm…
What we have done is buy ‘door sets’. In essence this is a factory made bespoke door frame and door that is easily fitted by a DIY-er. I’ve said it before, but ‘how hard can it be?’. The answer turns out to be ‘not very’.
The doors were supplied by Deuren and are finished in a satin walnut veneer. The quality is superb but I actually find the construction and installation the fascinating part. This is much easier to show with the help of some photos.
The basic frame is custom-sized to each opening. In the photos below you can see the head-rail screwed into one of the verticals. The small strips are used to locate the flat architraves.
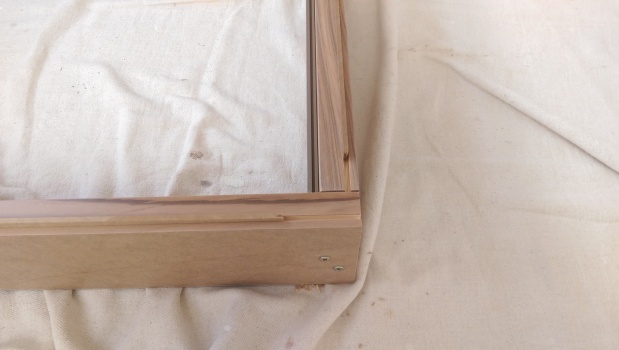
The flat architraves need to be cut to length and are located on the room side of the frame.
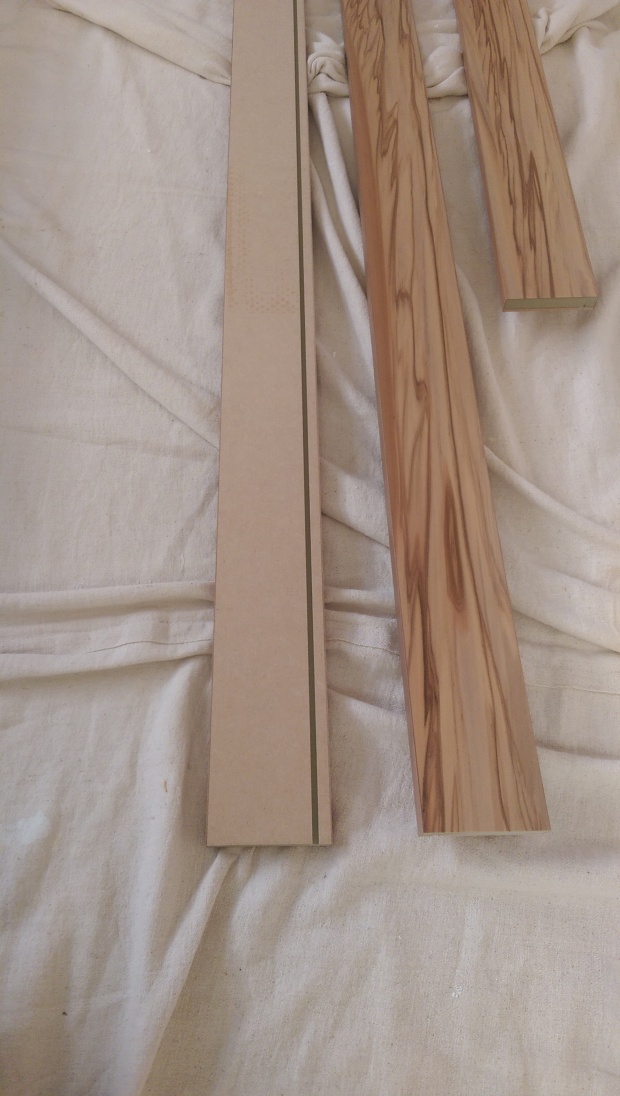
Flat architraves
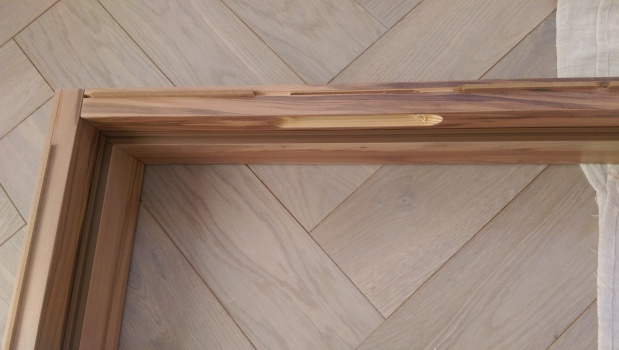
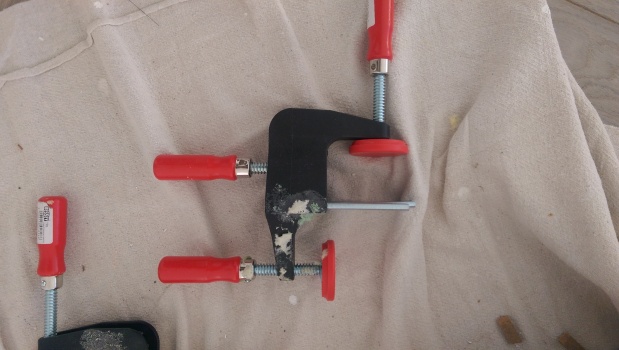
With the frame screwed together and the flat architrave cut to length, the architrave is fixed onto the frame and glued into place.
Flat architraves clamped after glueing
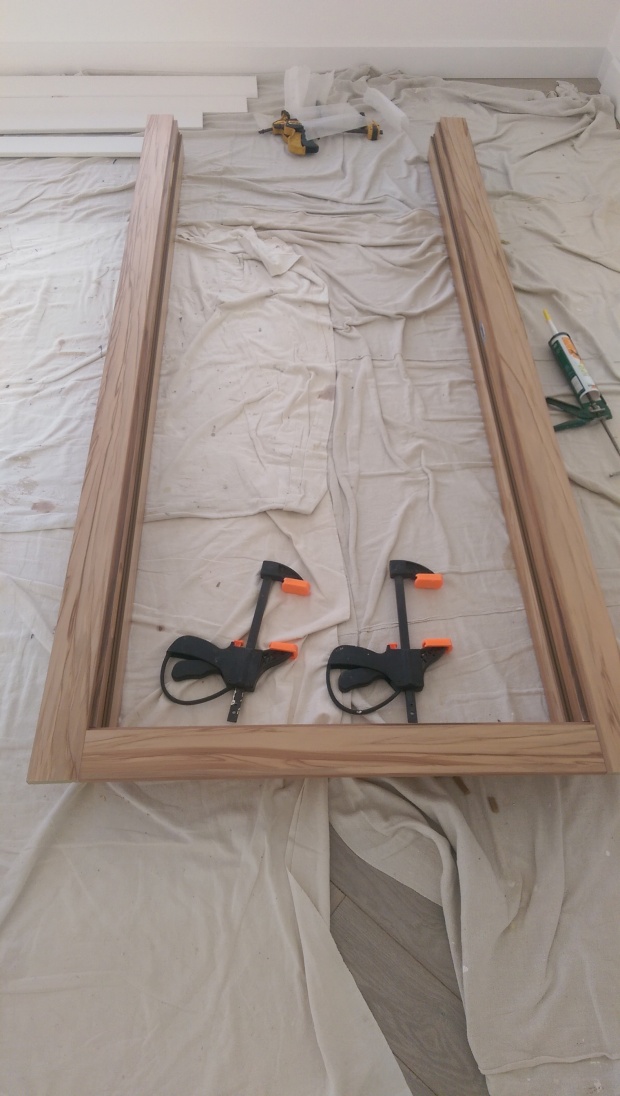
One side done
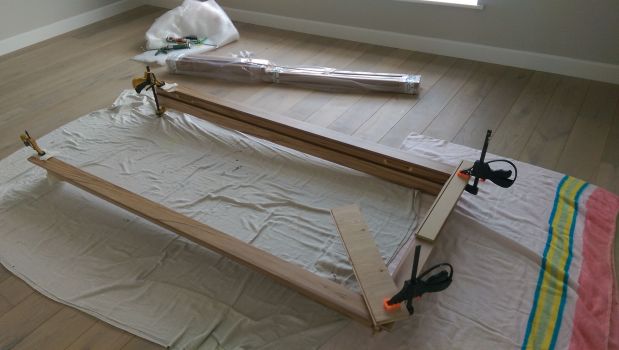
With the architraves fitted to the frame, the next step is to fit the frame into the opening. The flat architraves are positioned in the room into which the door opens, so the picture below shows the frame looking into the room.
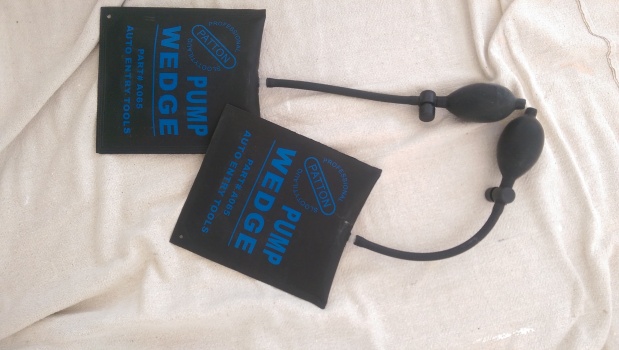
An unusual set of clamps were supplied with the doors and help to position and adjust the frame. They’re very simple but incredibly effective!

Frame held securely
Fitment clamps
Now the frame is secure the door can be hung. This is a pretty trivial task made even easier by the use of a pair of wind-bags to help raise and locate the hinges into the frame. Unpacking the door, fitting hinges, hanging the door, fitting the handles and adjusting to a perfect fit takes about 15 minutes!
Wind bags – invaluable
The frame is then secured into place with the use of a specialised 2-part expanding foam. A little goes a long way and it’s the only part of the process that needs much practice.
The final part of the installation is to fit the architraves to the opposite side of the frame. Given that wall thickness can vary, these architraves are telescopic, allowing a perfect fit.
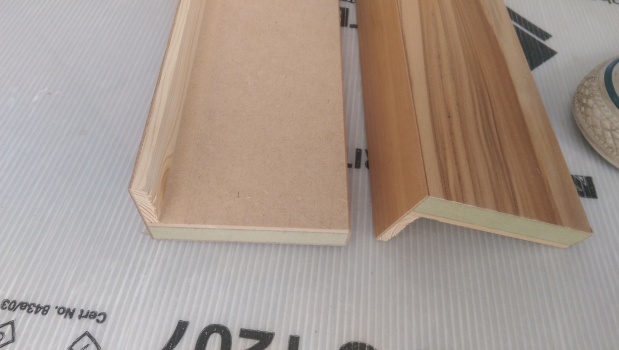
Telescopic architraves
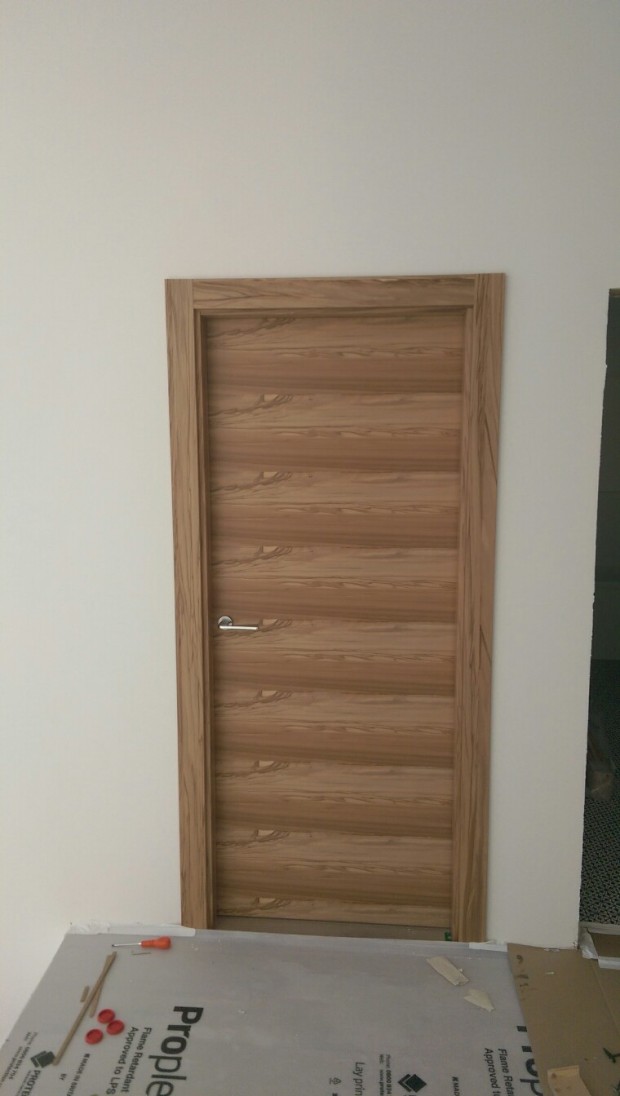
The finished article
In total we have 11 of these doors to fit and so far we have done 7. In addition there are 3 pocket doors in the same style although a very different process to install them

You actually make it appear so easy together with your presentation but I find this topic to be actually one thing that I believe I would never understand. It kind of feels too complicated and very wide for me. I am having a look forward in your next publish, I’ll attempt to get the dangle of it!
LikeLiked by 1 person
Nice blog right here! Additionally your website rather a lot up very fast! What host are you using? Can I am getting your associate hyperlink on your host? I wish my website loaded up as fast as yours lol
LikeLiked by 1 person
Thank you, I’ve recently been searching for information approximately this subject for a while and yours is the best I’ve came upon till now. However, what about the conclusion? Are you positive about the source?
LikeLiked by 1 person